
MSIX is a new Microsoft packaging technology. It takes the best features from setup.exe, MSI, Windows ClickOne, App-V, and script.vbs and puts them to use. This is the first packaging product from Microsoft in ten years. MSIX is aimed at being a common packaging tool for both Universal Windows Platform (UWP) and Win 32apps.
The intention is to remove packaging paralysis. More specifically: the vicious cycle of receiving an application, packaging it for deployment, updating the Windows OS, updating the app for the new OS, creating a new package for the updated OS, updating the Windows OS again, etc.
MSIX will preserve the functionality of existing application packages. This allows you to reuse and convert whilst adding new modern packaging and deployment features to that package, such as:
- Security, in the form of code signing and therefore trusted applications. Having this security will assist your organization in its transition to the adoption of Windows Defender Application Control.
- Clean uninstalls that leave nothing behind!
- Disk and Network optimization. The applications will only install the differences between a v1 and a v2 revision for example.
Microsoft has released a packaging tool to allow IT Pros to create an MSIX package for any Windows app. Since the release of ConfigMgr 1806 it has been possible to add in the MSIX format when creating an application for deployment.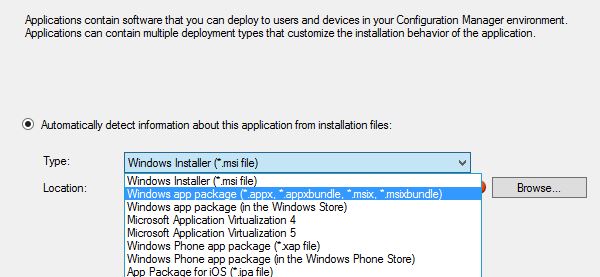
With the release of ConfigMgr 1810, the ability to convert existing MSI based applications, directly from within the console, has been introduced. There are some caveats and prerequisites. Let’s explore what these are:
Caveat:
The ability to code sign the application directly within the console has not made it into the 1810 ConfigMgr release. Therefore the application must be signed independently after it has been created. This is achieved using the Signtool utility from the Windows 10 SDK.
Pre-Requisites:
- A clean packaging reference machine, ideally a VM, running Windows 10 1809 or later. It should have no apps installed, except for the prerequisites.
- The ConfigMgr console must be installed on the Windows 10 device.
- The MSIX Packaging Tool from the Microsoft Store installed on the Windows 10 device.
- The Windows 10 SDK for 1809, which can be downloaded from https://howtomanagedevices.com/windows-10-sdk-tools/.
- An account with administrator rights on the Windows 10 device which will be used to run the MSIX packaging process via the console.
To kick-start building your first MSIX application, you will need to obtain a code signing certificate. This can be either a publicly issued code signing certificate or from an internal Certificate Authority (CA). Microsoft has a great blog post about the process of creating a code signing certificate here https://blogs.technet.microsoft.com/ukplatforms/2017/05/04/create-code-integrity-signing-certificate.
Some important things to note from the blog post above. Ensure that you have your security permissions set up correctly, so that you are able to enroll the certificate later. Allow the private key to be exported. On the reference Windows 10 device, load MMC as the current user and make a note of the Common Name you set for the certificate. You will need this when converting your application to MSIX. Finally, if you are using an internal CA, make sure you have the trusted root certificate deployed to devices that need it.
With everything in place, you will be ready to convert your existing MSI applications in the ConfigMgr console. Head on over to Software Library > Overview > Application Management > Applications and find an MSI-based application to convert. I’ve selected to convert the ConfigMgr 2012 Toolkit MSI. If you right-click the application there is an option to Convert to .MSIX. If the application is not of the correct type then Convert to .MSIX will be greyed out. You will also see the Convert to .MSIX option is available in the console ribbon.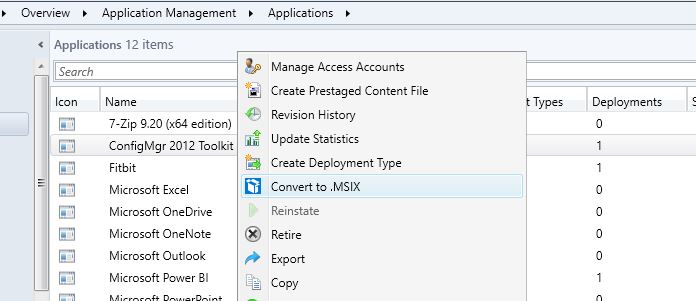
The .MSIX conversion wizard will appear. If the prerequisites have not been met then you will be warned at this stage.
There’s a check box to enable diagnostic data about the packaging tool to be sent to Microsoft. It might be worth leaving this switched on to help improve the service.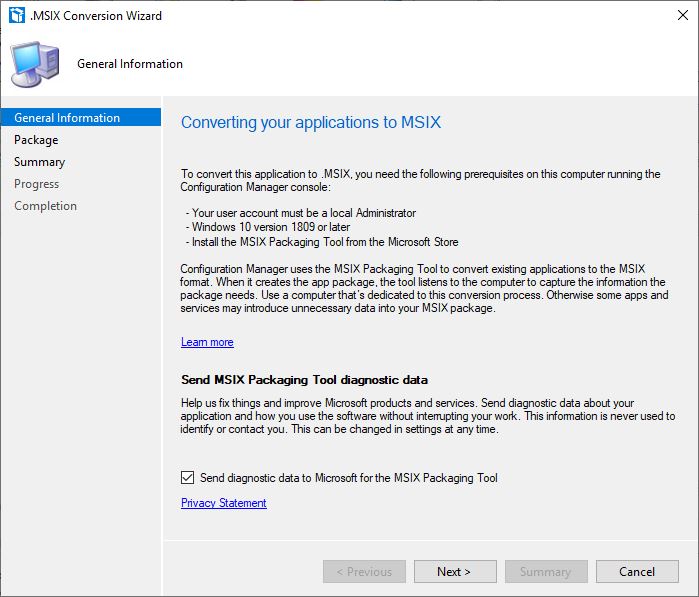
On the next screen, you will need to enter the subject name of the certificate. This is the Common Name entered earlier when enrolling the certificate, make sure this matches what was entered previously. Also at this stage, you also need to enter a location in which to save the outputted MSIX file.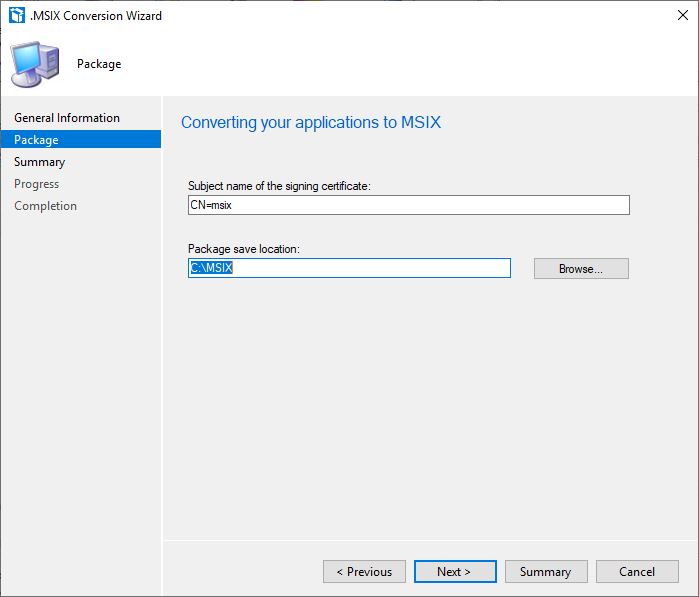
The next screen is the summary screen. Wow, nothing more is needed to convert from within the console, super simple!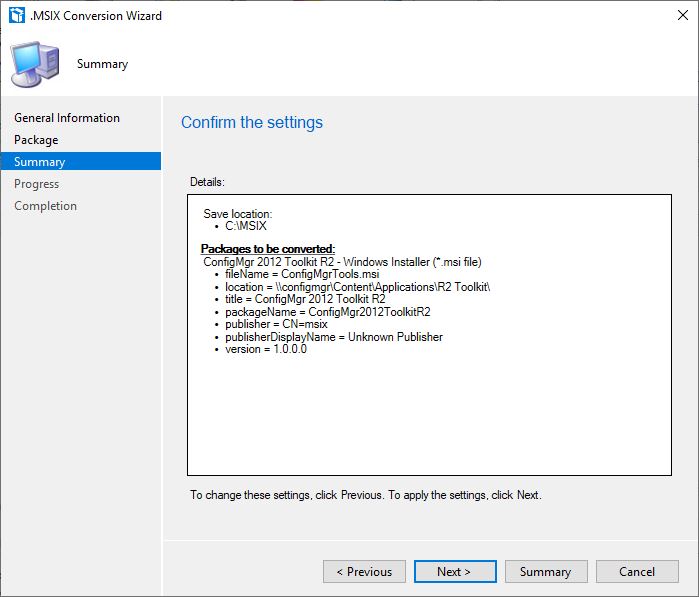
After clicking Next, the conversion process occurs. This could take some time depending on the application being converted.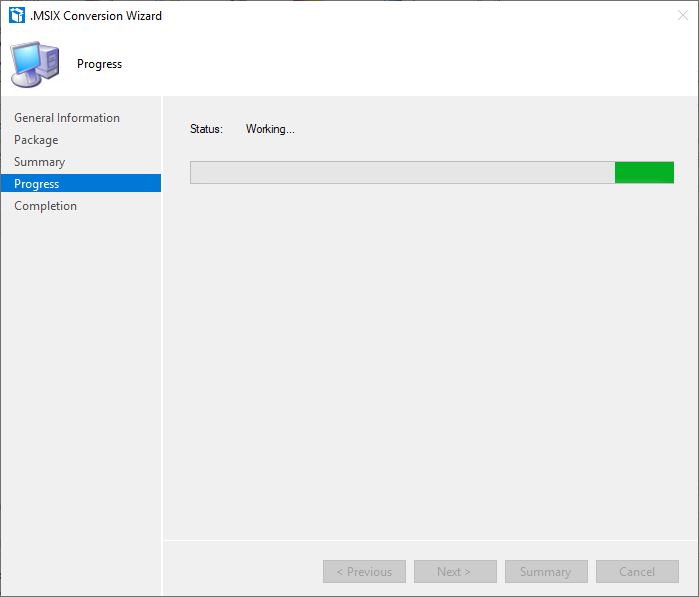
On completion, the .MSIX file appears in the save location specified during the wizard.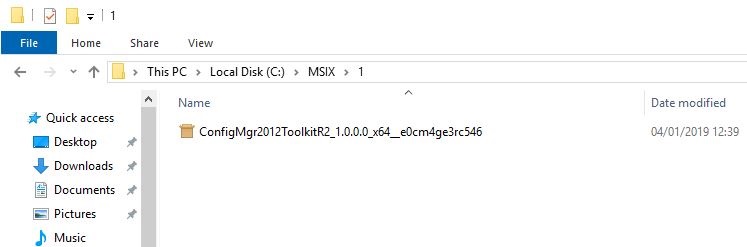
Since the signing of the application did not make it into the ConfigMgr 1810 release, then we need to use the signtool utility from the Windows 10 SDK. With the SDK installed navigate to the C:\Program Files (x86)\Windows Kits\10\bin\10.0.17763.0\x64 folder as an administrator in CMD.
The full details on Signtool and its parameters are documented here https://docs.microsoft.com/en-us/dotnet/framework/tools/signtool-exe but the command syntax we need to run is:
signtool sign /fd <hash algorithm> /a /f <path to certificate>.pfx /p <PFX password> <path to file>.MSIX
You will be notified of a successful signing.
The application is now in a state where it is ready for deployment. For this demonstration, I am going to manually install the MSIX, but as stated this could be consumed in ConfigMgr and pushed out via the Software Center.
First up though, we need to ensure that sideloading of MSIX apps is allowed on your Windows 10 devices.
This can be switched on manually in Settings > Update & Security > For developers or you can use group policy to achieve this across your environment. The policy to use is Computer Configuration > Administrative Templates > Windows Components > App Package Deployment > Allow all trusted apps to install.
OK, let’s install that first MSIX application. When you double-click the MSIX file, you will be presented with an Install MSIX window. Here you can set to launch the application directly after completion and an Install button.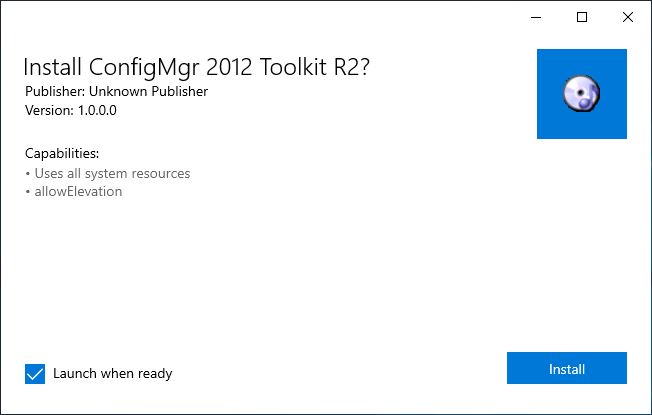
After installation your application will appear in the start menu.
This addition to the console is a neat way to quickly and efficiently convert your existing MSI files to the new format.
If you want to delve deeper into MSIX packaging, then you can use the packaging tool independently to the ConfigMgr console. The packaging tool allows you to define first launch tasks, it also allows you to create a modification package. A modification package is a special MSIX package which has a dependency from the main package and can’t be installed independently. You could use this to customize an application. Each time the customizations need to change then only the modification package needs to be altered. Or you could package add-ons or plug-ins as modification packages. Hopefully over time this flexibility will be added into the ConfigMgr console so we can use it as a one-stop shop for our packaging and deployment needs.
Happy packaging!